
I learned to add a Mechanism to my cards, while following
Lisa Curcio, Demonstrator, in 2019.
A Mechanism is used to make an image, die cut, or
punched art piece pop up or stand out!
Use a Mechanism when you want to surprise someone when
they open their card!
Basic Mechanism: It needs a Fold to work
The Mechanism is made by cutting two slits in the
fold, towards the edge. The length of
the cuts or the Depth of the Mechanism, relates to the height of your Pop-Up
Image, and how much space you want left for your sentiment and signature.

At the fold cut two (2) slits, in ¾” deep with 2 ½” in
between each – this size represents the height and length of my design on the
inside.
To fold this piece so it becomes the mechanism: push the cut section forward and slide 1 finger or both thumbs in each end of the section cut and pull forward from the fold, so that when you close the card, this piece separates. Crease the mechanism fold on each side with your bone folder to shape it.

Option 2: Cut a piece of Designer Series Paper, 5 ½ x 8 ½”,
according to the direction of the pattern. This is your entire card. You won’t
have to add the layers except for a space for a sentiment and signature.
Here are three designs to demonstrate showing different a Mechanism
that depends on the fold.
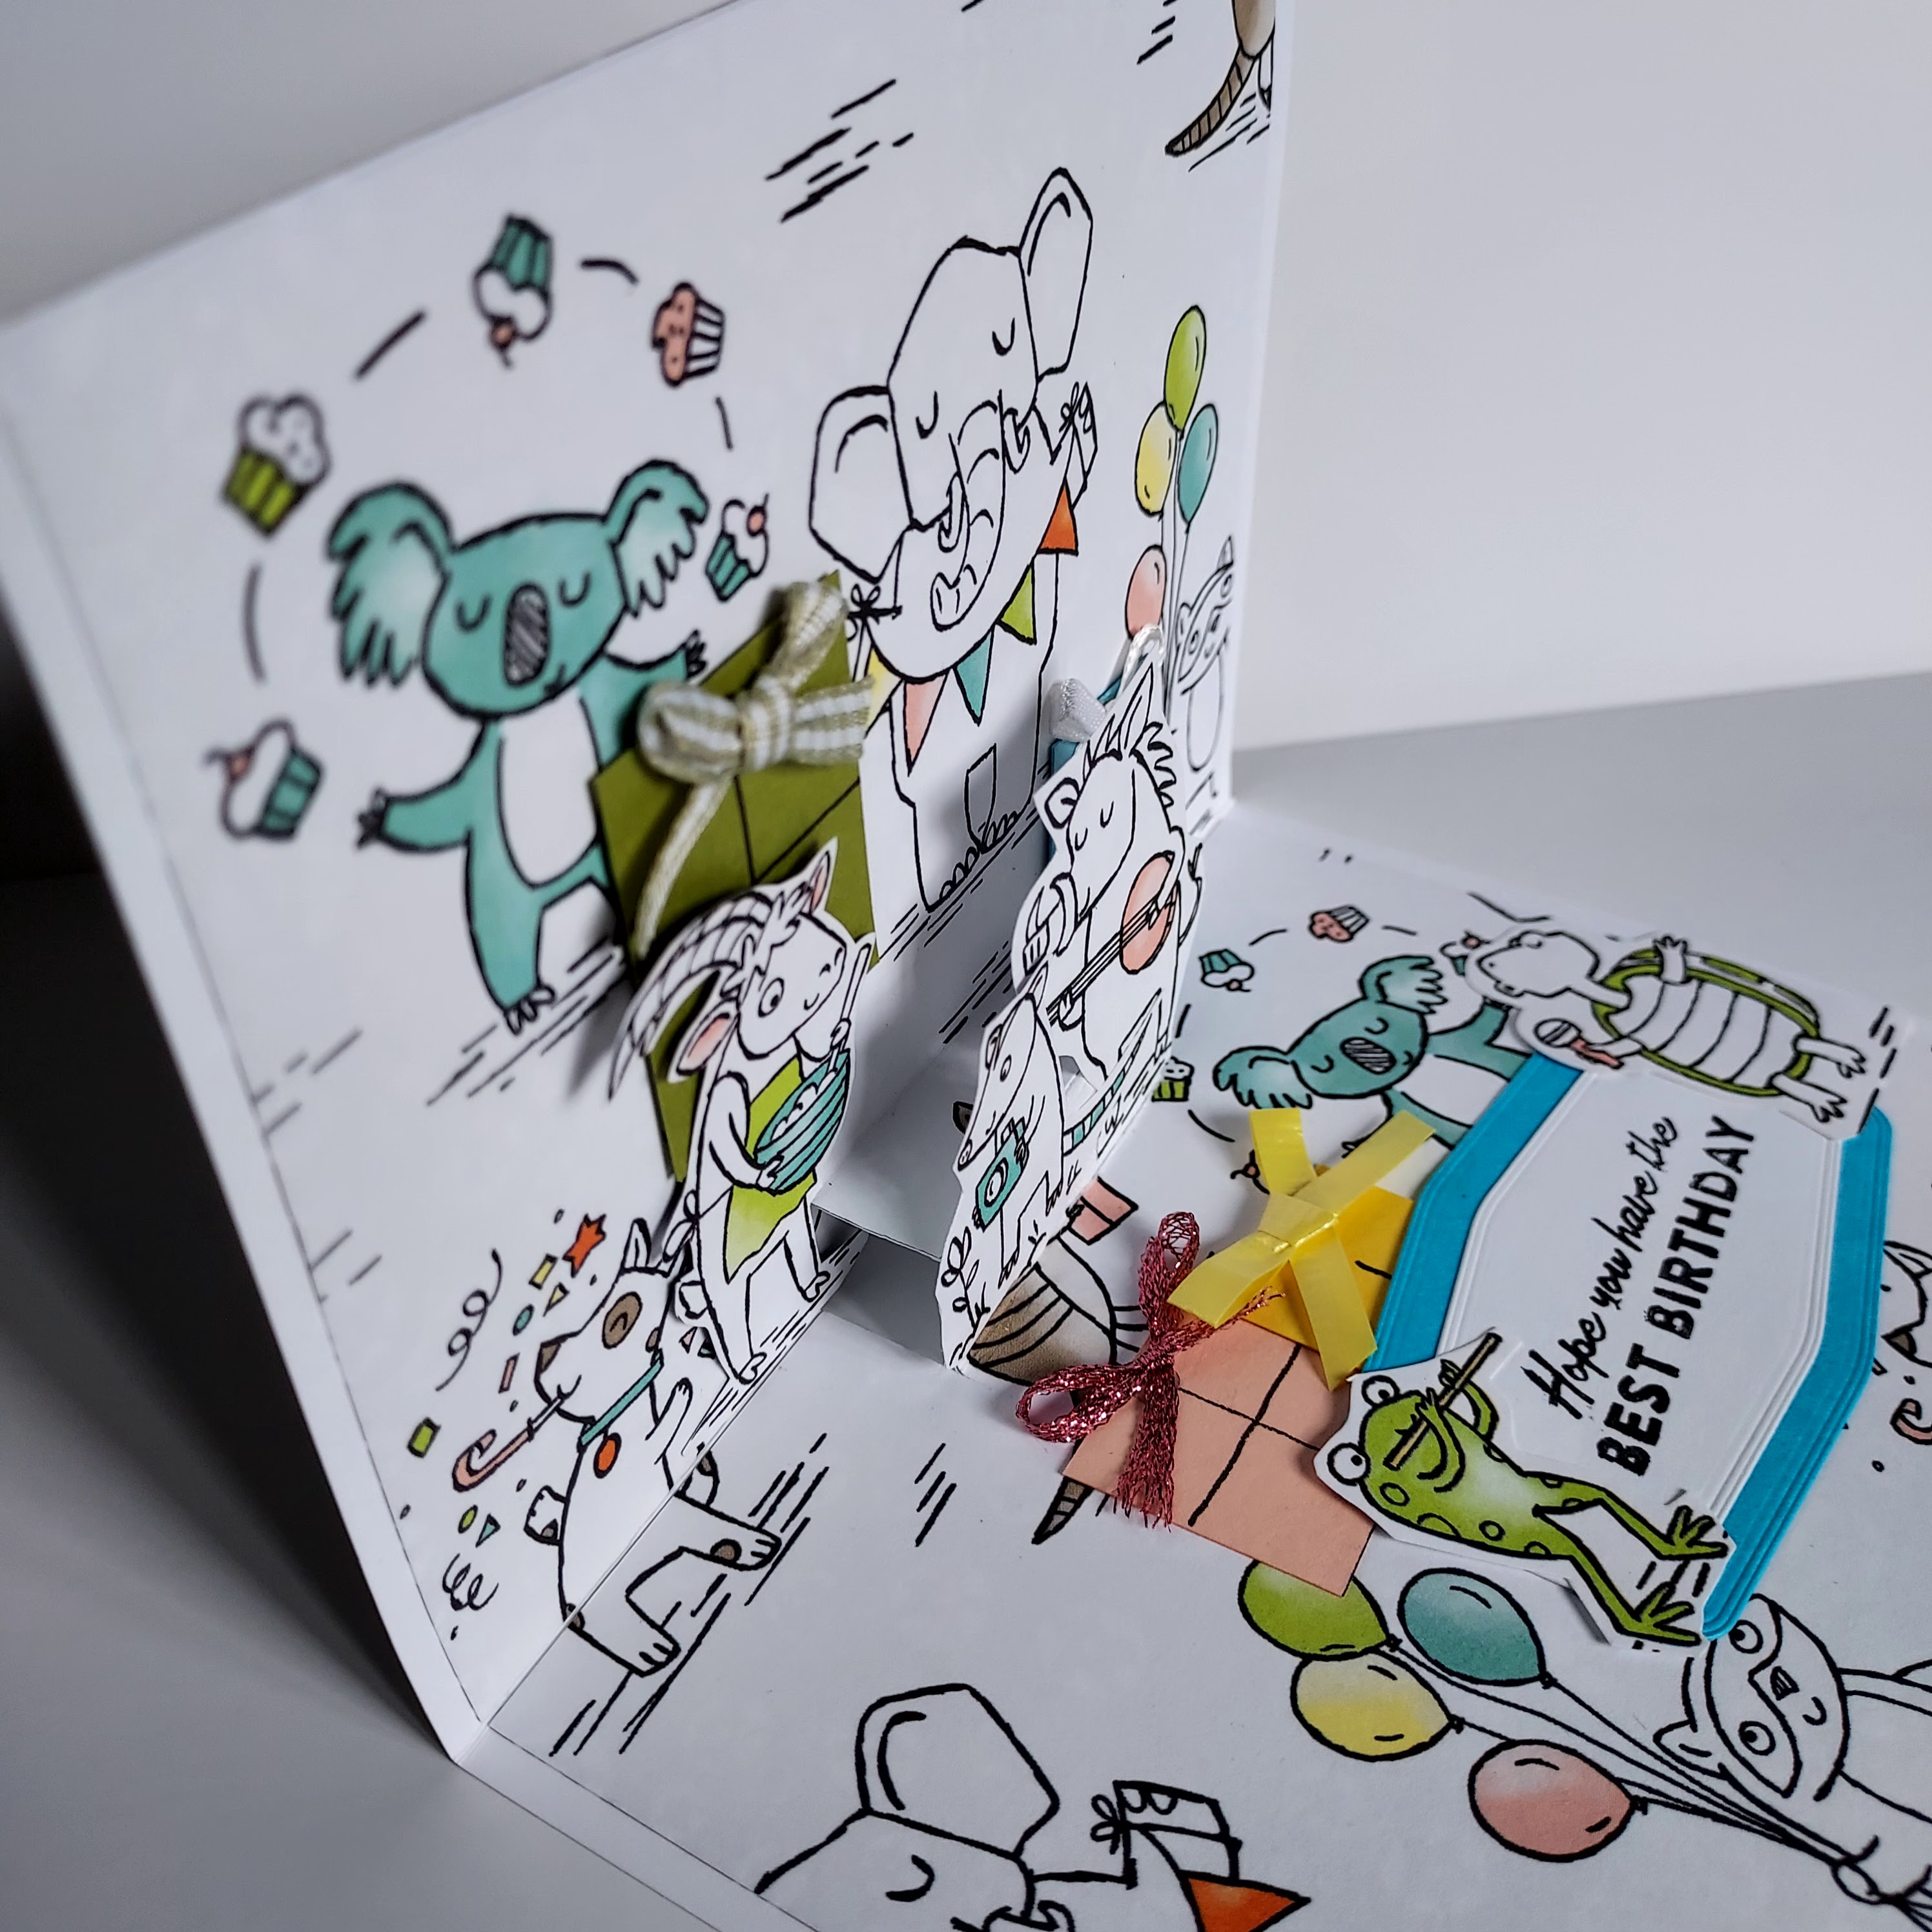
Design #1: Using a Mechanism for a Pop-Up
Card Base: Basic White 5 ½” x 4 ¼”, with fold on the top. At the fold cut in ¾” deep and 2 ½” long – this size
represents the piece that is the Pop-Up piece on the inside. Now following the
directions above, make this fold the mechanism.
Inside top layer: One piece of Magnificently Made Designer
Series Paper (DSP) 5 1/4” x 4, stars print.
Lay it on top of the card base that you have cut the mechanism into, so
that you can line it up and cut an equal portion of the DSP you’ll use as a
layer
Pop-Up Layer: One piece of Mossy Meadow color DSP, die cut
with Grove dies, trees, approximately 5 ¼ x 4.
Attach this to the front of the Mechanism at the base. Add the deer to the Mossy Meadow die cut. You
also have the option of gluing more die cuts to the inside layer of the stars.

Since the Mechanism is only ¾” deep, you still have 3 ¼ ” x 5
¼” of the base card to stamp a sentiment and add your signature.
Make sure to add a 5 ¼ x 4” layer to the front of the card,
which also covers the mechanism cut at the fold.
Design #2: Using an Image, Die Cut or Punched Art piece
for the Mechanism
Card Base: Basic
White or any Color to go with your theme, 5 ½” x 4 ¼” fold on the left.
The Mechanism on this design is the butterflies. There has to be an uneven amount of images,
because the center image acts as the Mechanism.

To assemble them. Cut
a minimum of three (3) identical images. Fold exactly at the center of each. For
this design, I attached one butterfly to the left wing of the center butterfly;
and one butterfly to the right wing of the center butterfly. I didn’t add glue
to the entire wing because I wanted it to spread apart. I also cut the antennae
off of the right and left butterflies. I think the center butterfly could be
the darkest in color too.
Before you glue them on fold them as tight as you can
together, then center the center butterfly over the fold, move them in and out
and see how they would move with the opening and closing of the card.
To attach, put Tear & Tape on the two outside wings, then
stick one side down carefully, then fold the other side of the card on top of
the remaining wing, and press down.

Open the card to see how the butterflies Pop-out or create
an element of surprise!
Stamp your sentiment and sign your name.
Design #3 Using a coil as a Mechanism
Card Base: Basic White or any color for your theme. 3 ½” x 4”
with fold on top.
Front Layer: 3 ¼ x 3 ¾ according to your them. (Remember,
fold at the top)
Coil for Mechanism: 3 x 3” square of Basic White (a late
idea: could this be made with window sheet?) start at one corner, and cut
continually around, making the coil piece about 3/8 of an inch. Cut up to the 1st
corner, then turn and cut to each corner, turning and cutting. As you cut make
it into more a circle. At the end, keep uncut a piece that is about a nickel size.


Die Cuts: I used mini butterflies, cut out of DSP. Choose
for your theme. You want at least 10. Attach at curves and around the coil as you
stretch it out to see how they look best.
Attach coil to the base layer: Cut a piece of DSP that is
approximately 2 ½” x 4”. Attach to the base on each end, which leaves a slot
for one piece of the coil to slide underneath.
Attach the top inside layer, 3 ¼ x 3 ¾. Once the die cuts are
attached to the coil, put a glue dot on the center of the top piece of the
coil. Attach it by closing the card on it and pressing down lightly. When you open the card, the coil should be attached
to both sides of the card.
Stamp a sentiment and attach.
Now you have made Three (3) cards that use a Mechanism
that requires a fold to work. Use a
Mechanism to make a Pop-Up, or an image that stands out or surprises!
Visit my website for the latest catalogs, online exclusive products, view my many projects - click on the underlined highlighted links. Learn how you can get a 20% discount on your purchases - and there's no obligation to buy. If you live locally, attend my in-person class; or join my Face Book group to watch the LIVE technique.
www.cardconnoisseursb.stampinup.com
Thanks for stopping by! Be Blessed! sb

No comments:
Post a Comment